Configure Multi-factor authentication (MFA)
Navigation to Enablement
-
Login to Designer by clicking on the link below:
-
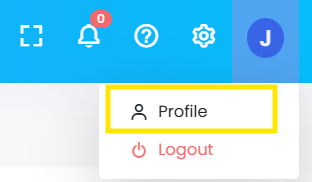
Locate the Account Icon: Click your profile initials in the top-right corner of the integration platform.
- Access Profile: Select
Profilefrom the dropdown menu.
- Go to Contact Info: On the Profile page, click the
Contact Infotab.
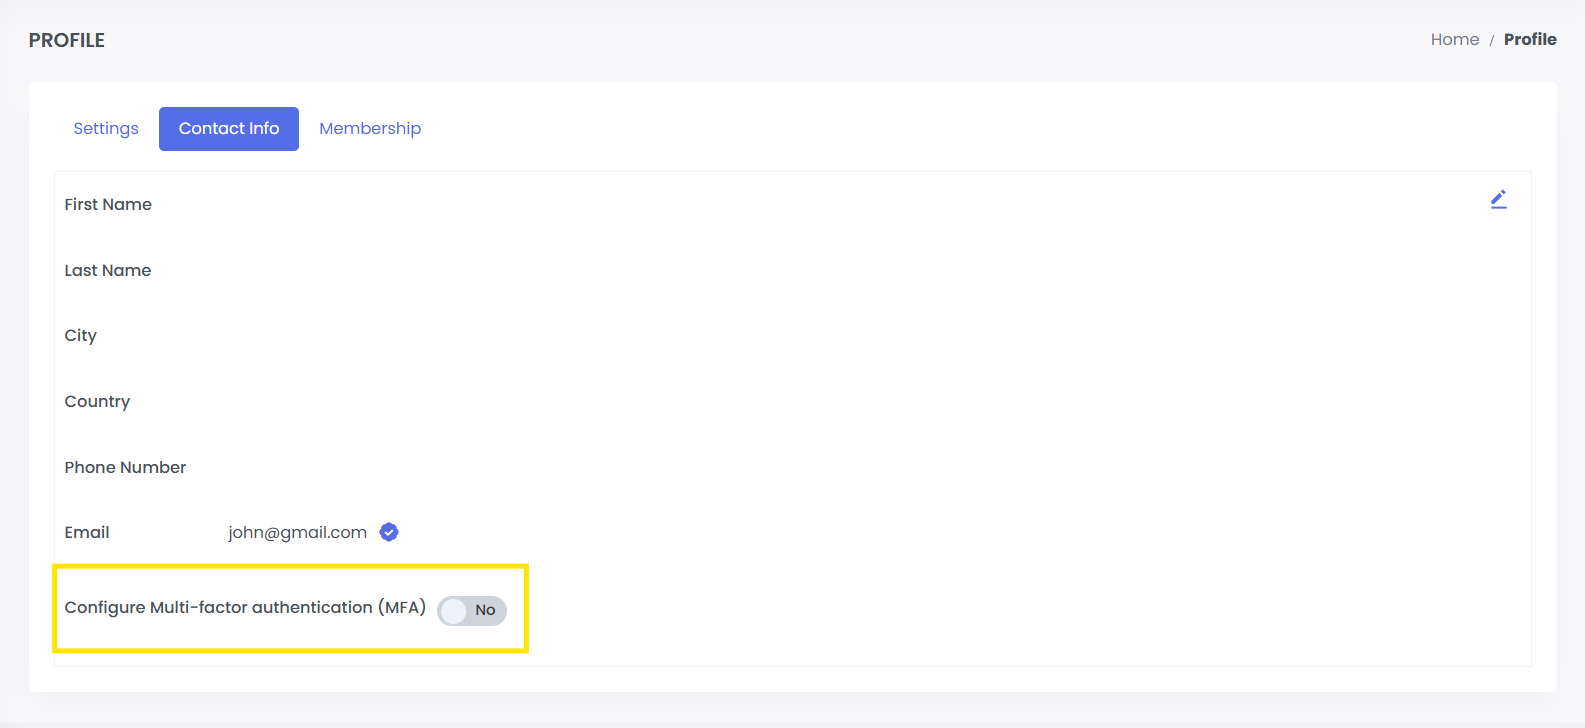
- Trigger the MFA Request: Find the Multi-factor Authentication section and click
Enable.

Set Up Your Authenticator App
Check your inbox for an email titled "Multi-Factor Authentication enabled for Quickintegrate". This email contains the "Secret Key" and a QR code.
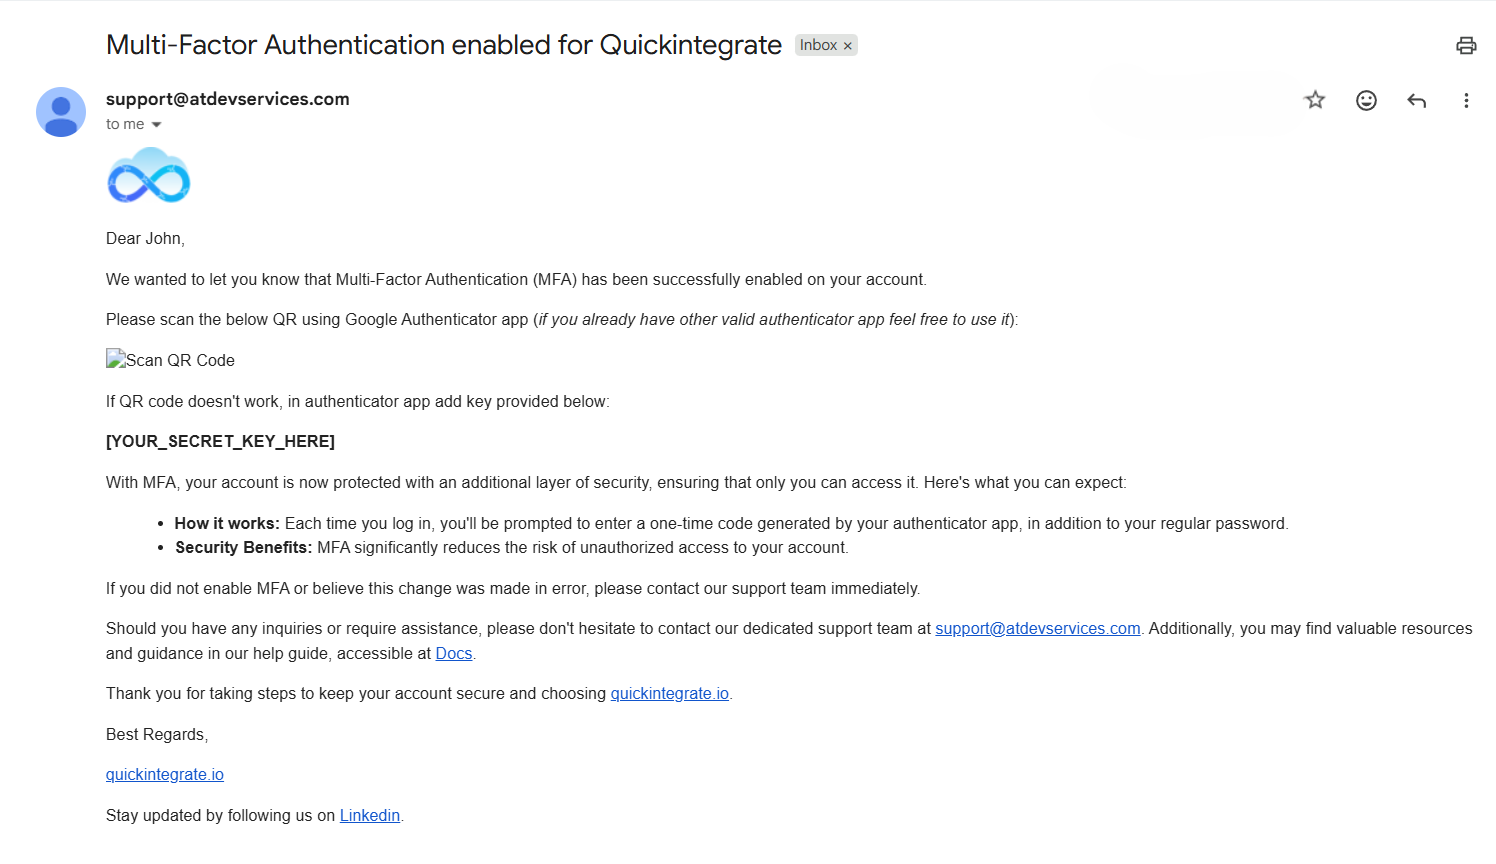
Using QR Code
Open your Authenticator App (Google, Microsoft, Okta) → Tap (+) → Select Scan QR Code.
Using Secret Key
If the QR doesn't load, select Enter Key Manually in your app. Type the string of characters provided in the email.
Finalizing the Connection (Activation)
- Logout: Manually log out of your integration platform account immediately after scanning the QR code.
- Relogin: Navigate back to the login page and enter your username and password as usual.
- MFA Redirection: Instead of going to the dashboard, you will be redirected to a
Verification Page. - Enter the 6-Digit Code: Open your Authenticator app, find the code for this account, and enter it into the field.
- Success: Upon entering a valid code, you will be granted access to the platform. MFA is now fully active.
⚠️ Critical Security Precautions
- Delete the Email: Once MFA is successfully enabled, delete the setup email from your inbox. Leaving a QR code or Secret Key in your sent received mail is a major security risk.
💡 Pro-Tips for Users
-
The "Race" Against Time: The 6-digit code in your app resets every 30 seconds. If the timer is red or flashing, wait for a new code to appear before typing it in to avoid a "Login Failed" error.
-
Locked Out? If your 6-digit code is consistently rejected, ensure your mobile device's Time/Date settings are set to "Set Automatically". MFA relies on perfectly synced timestamps.